

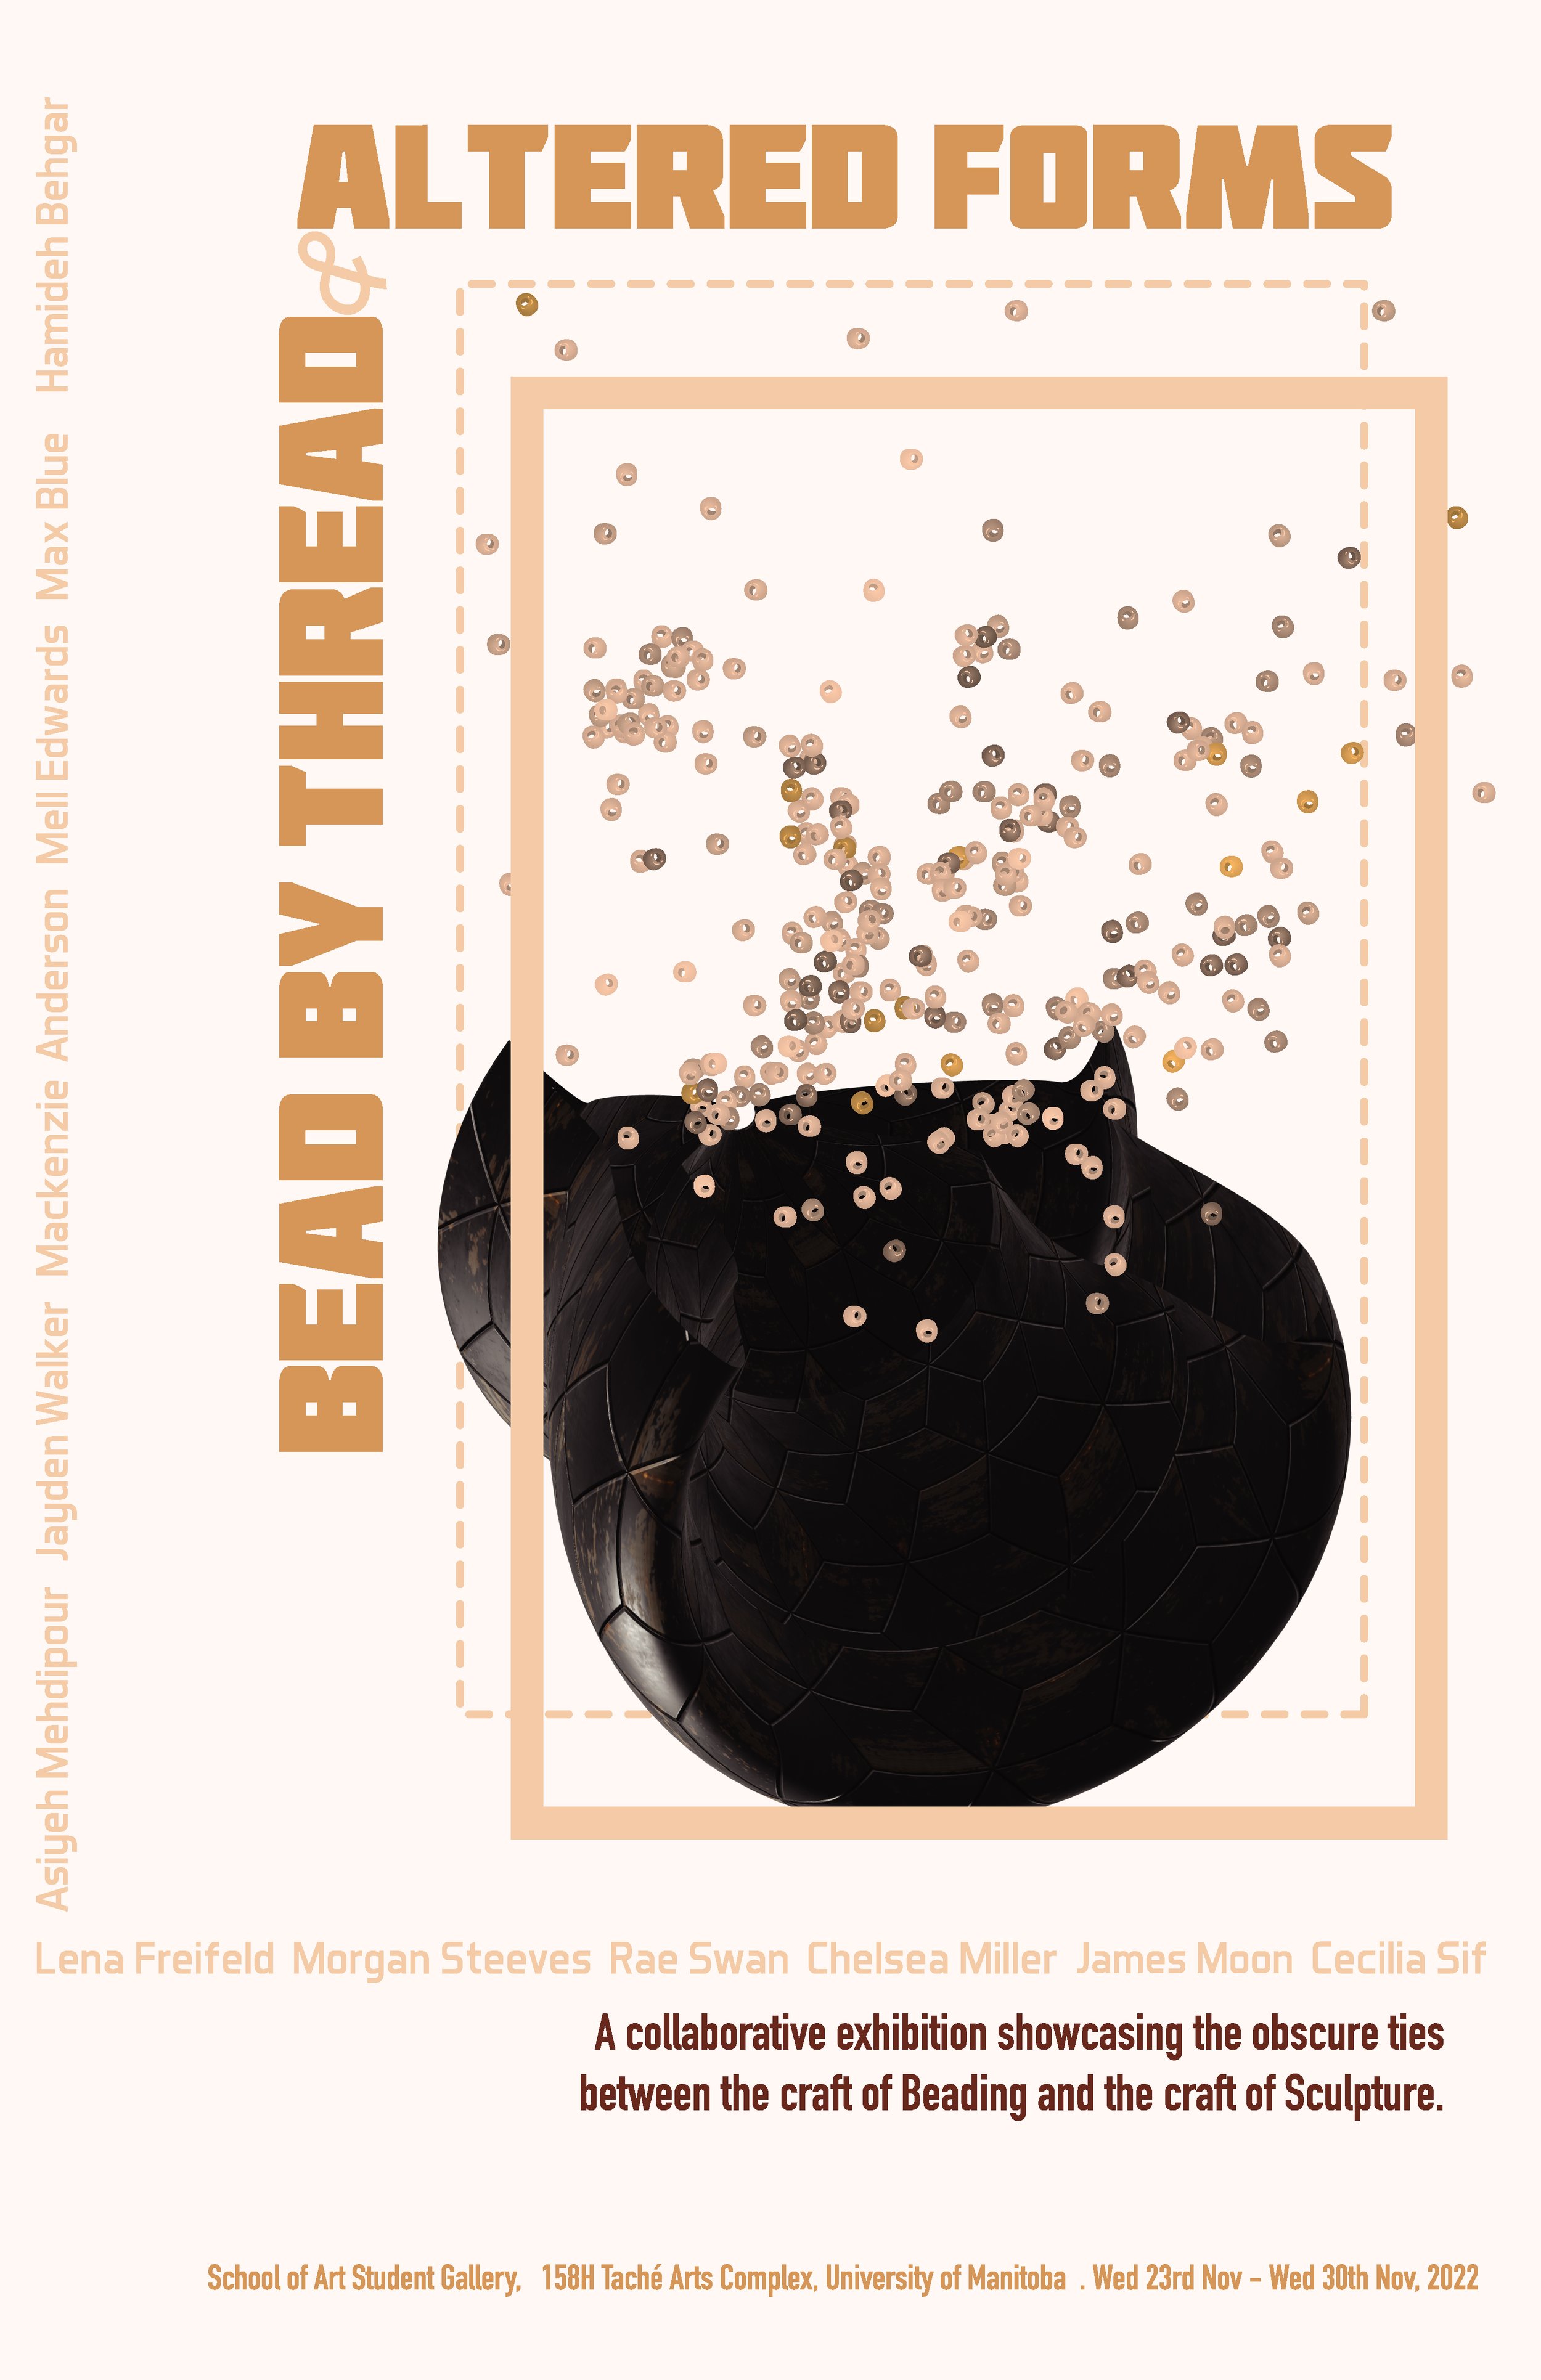
Poster for Bead By Thread / Altered Forms
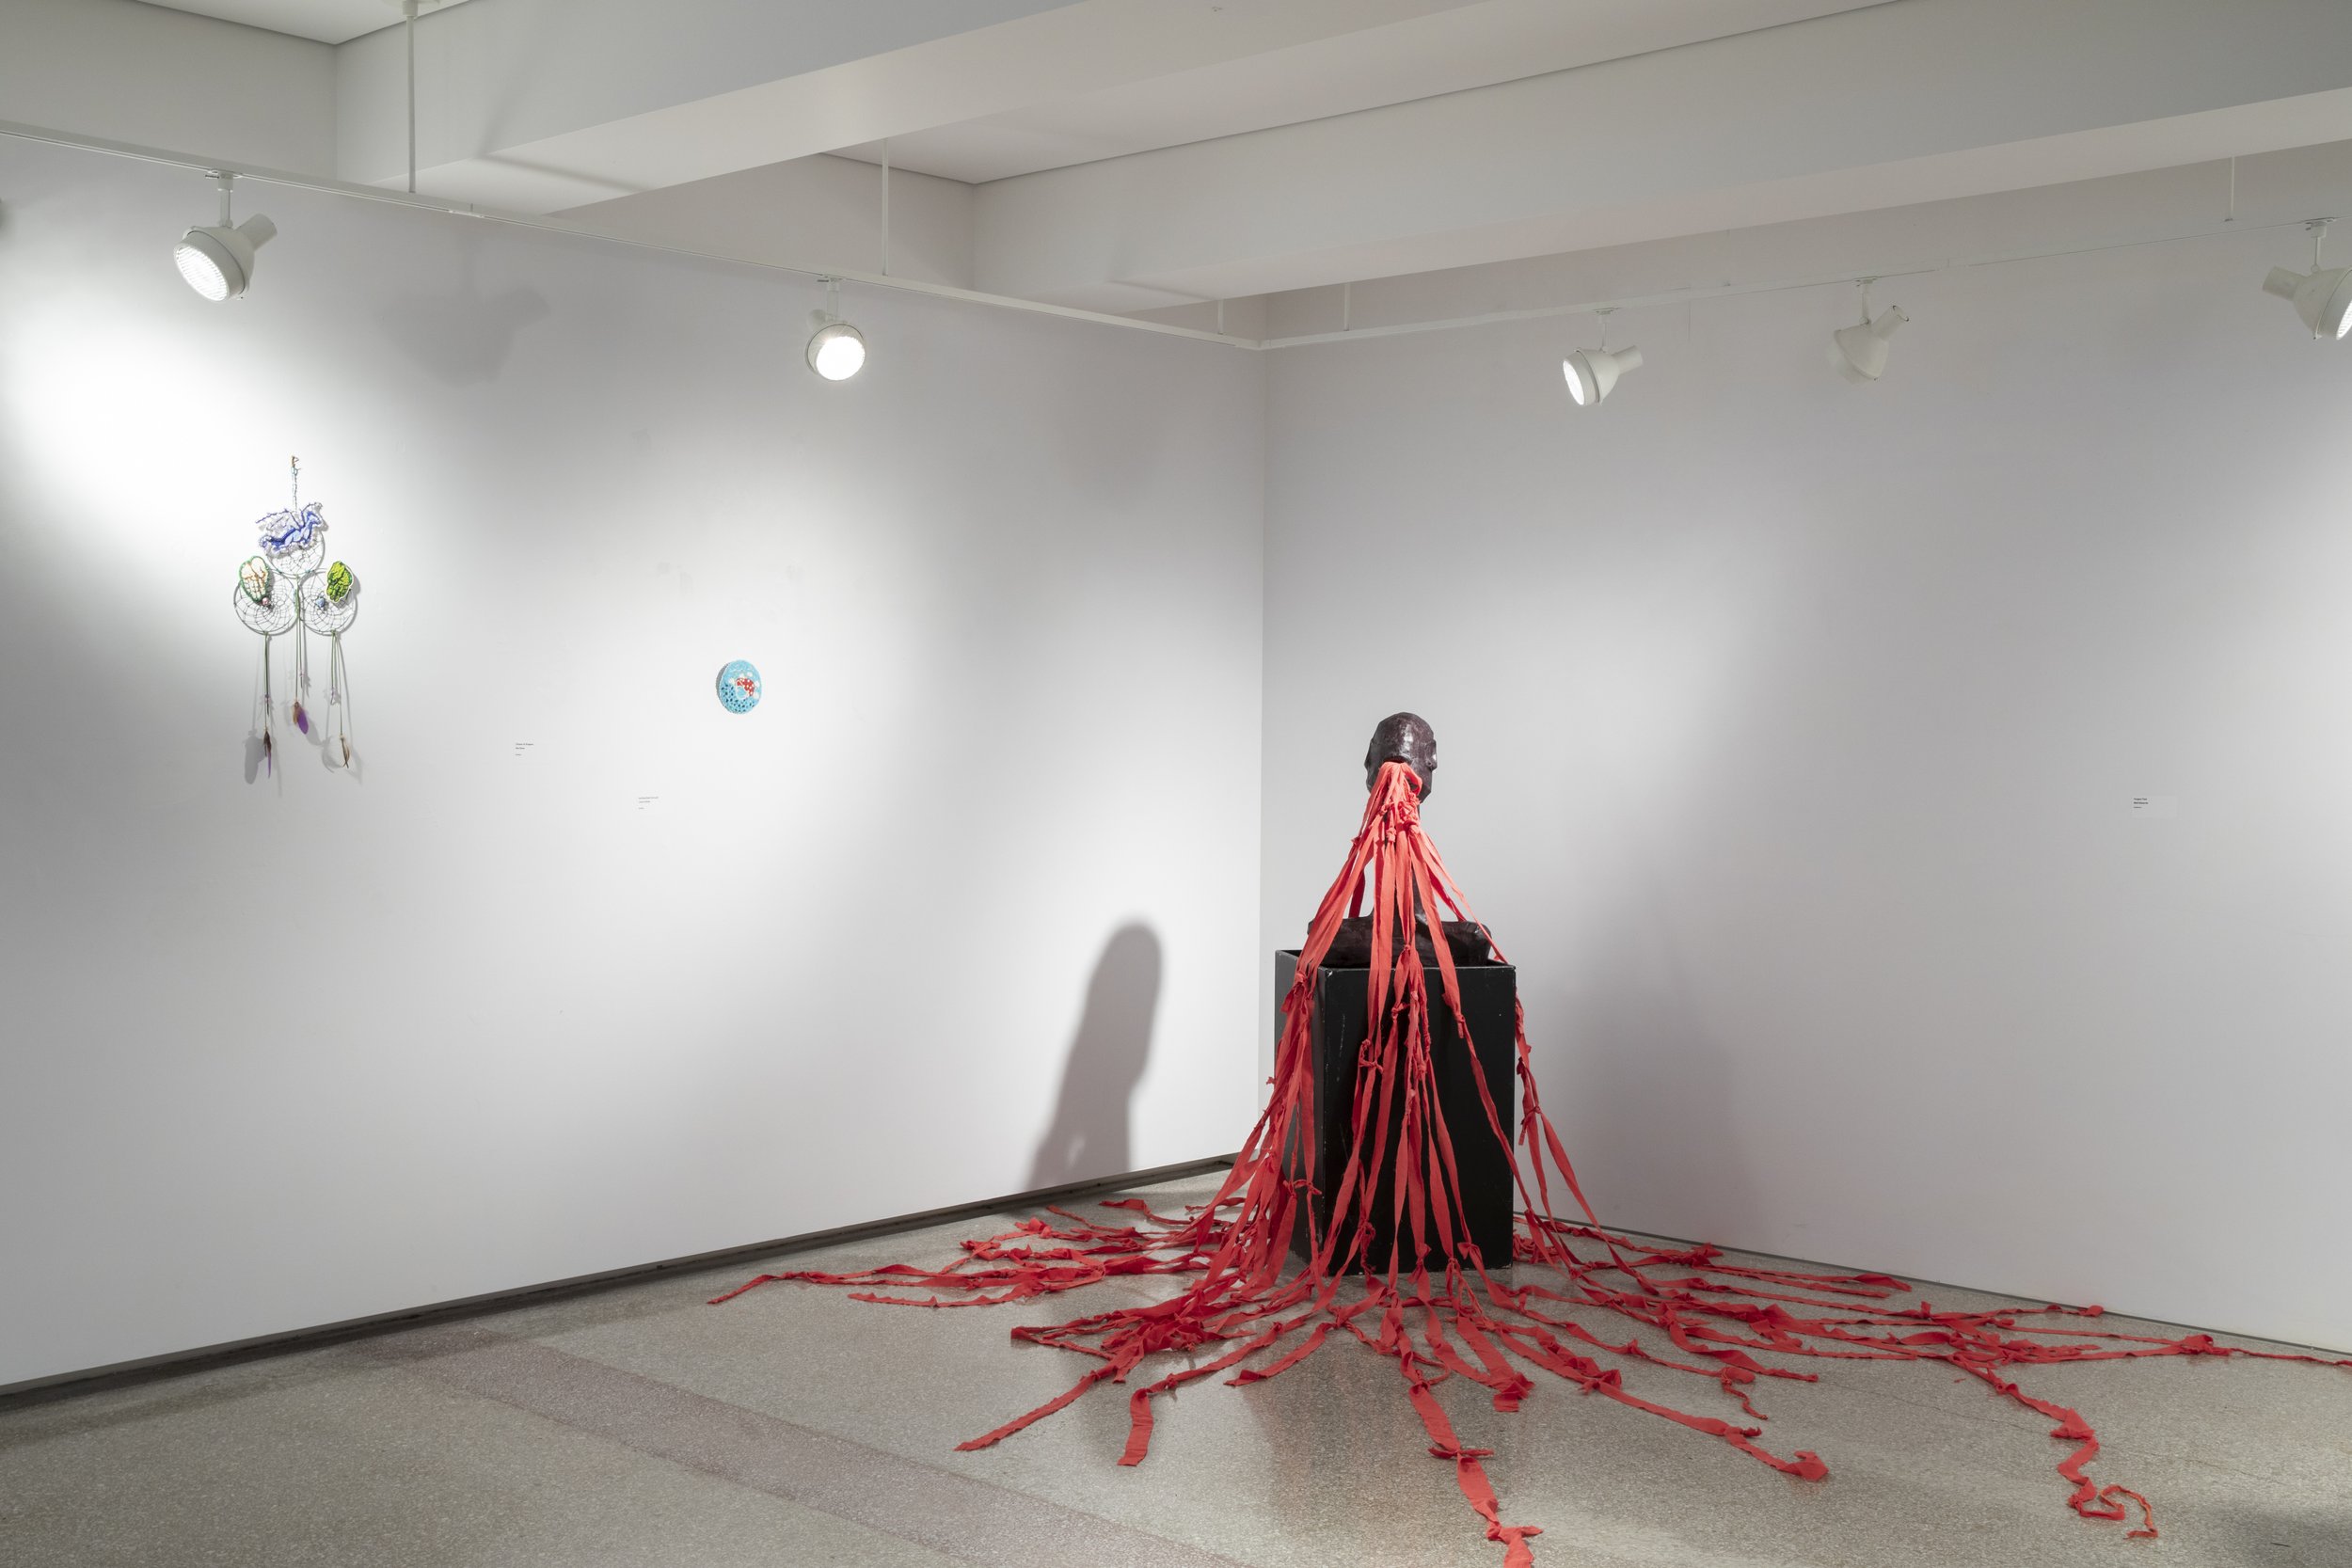
Tongue Tied by Mell Edwards Bead By Thread / Altered Forms - Photo by Daisy Wu
Tongue Tied and Night Sky by Mell Edwards Bead By Thread / Altered Forms - Photo by Daisy Wu

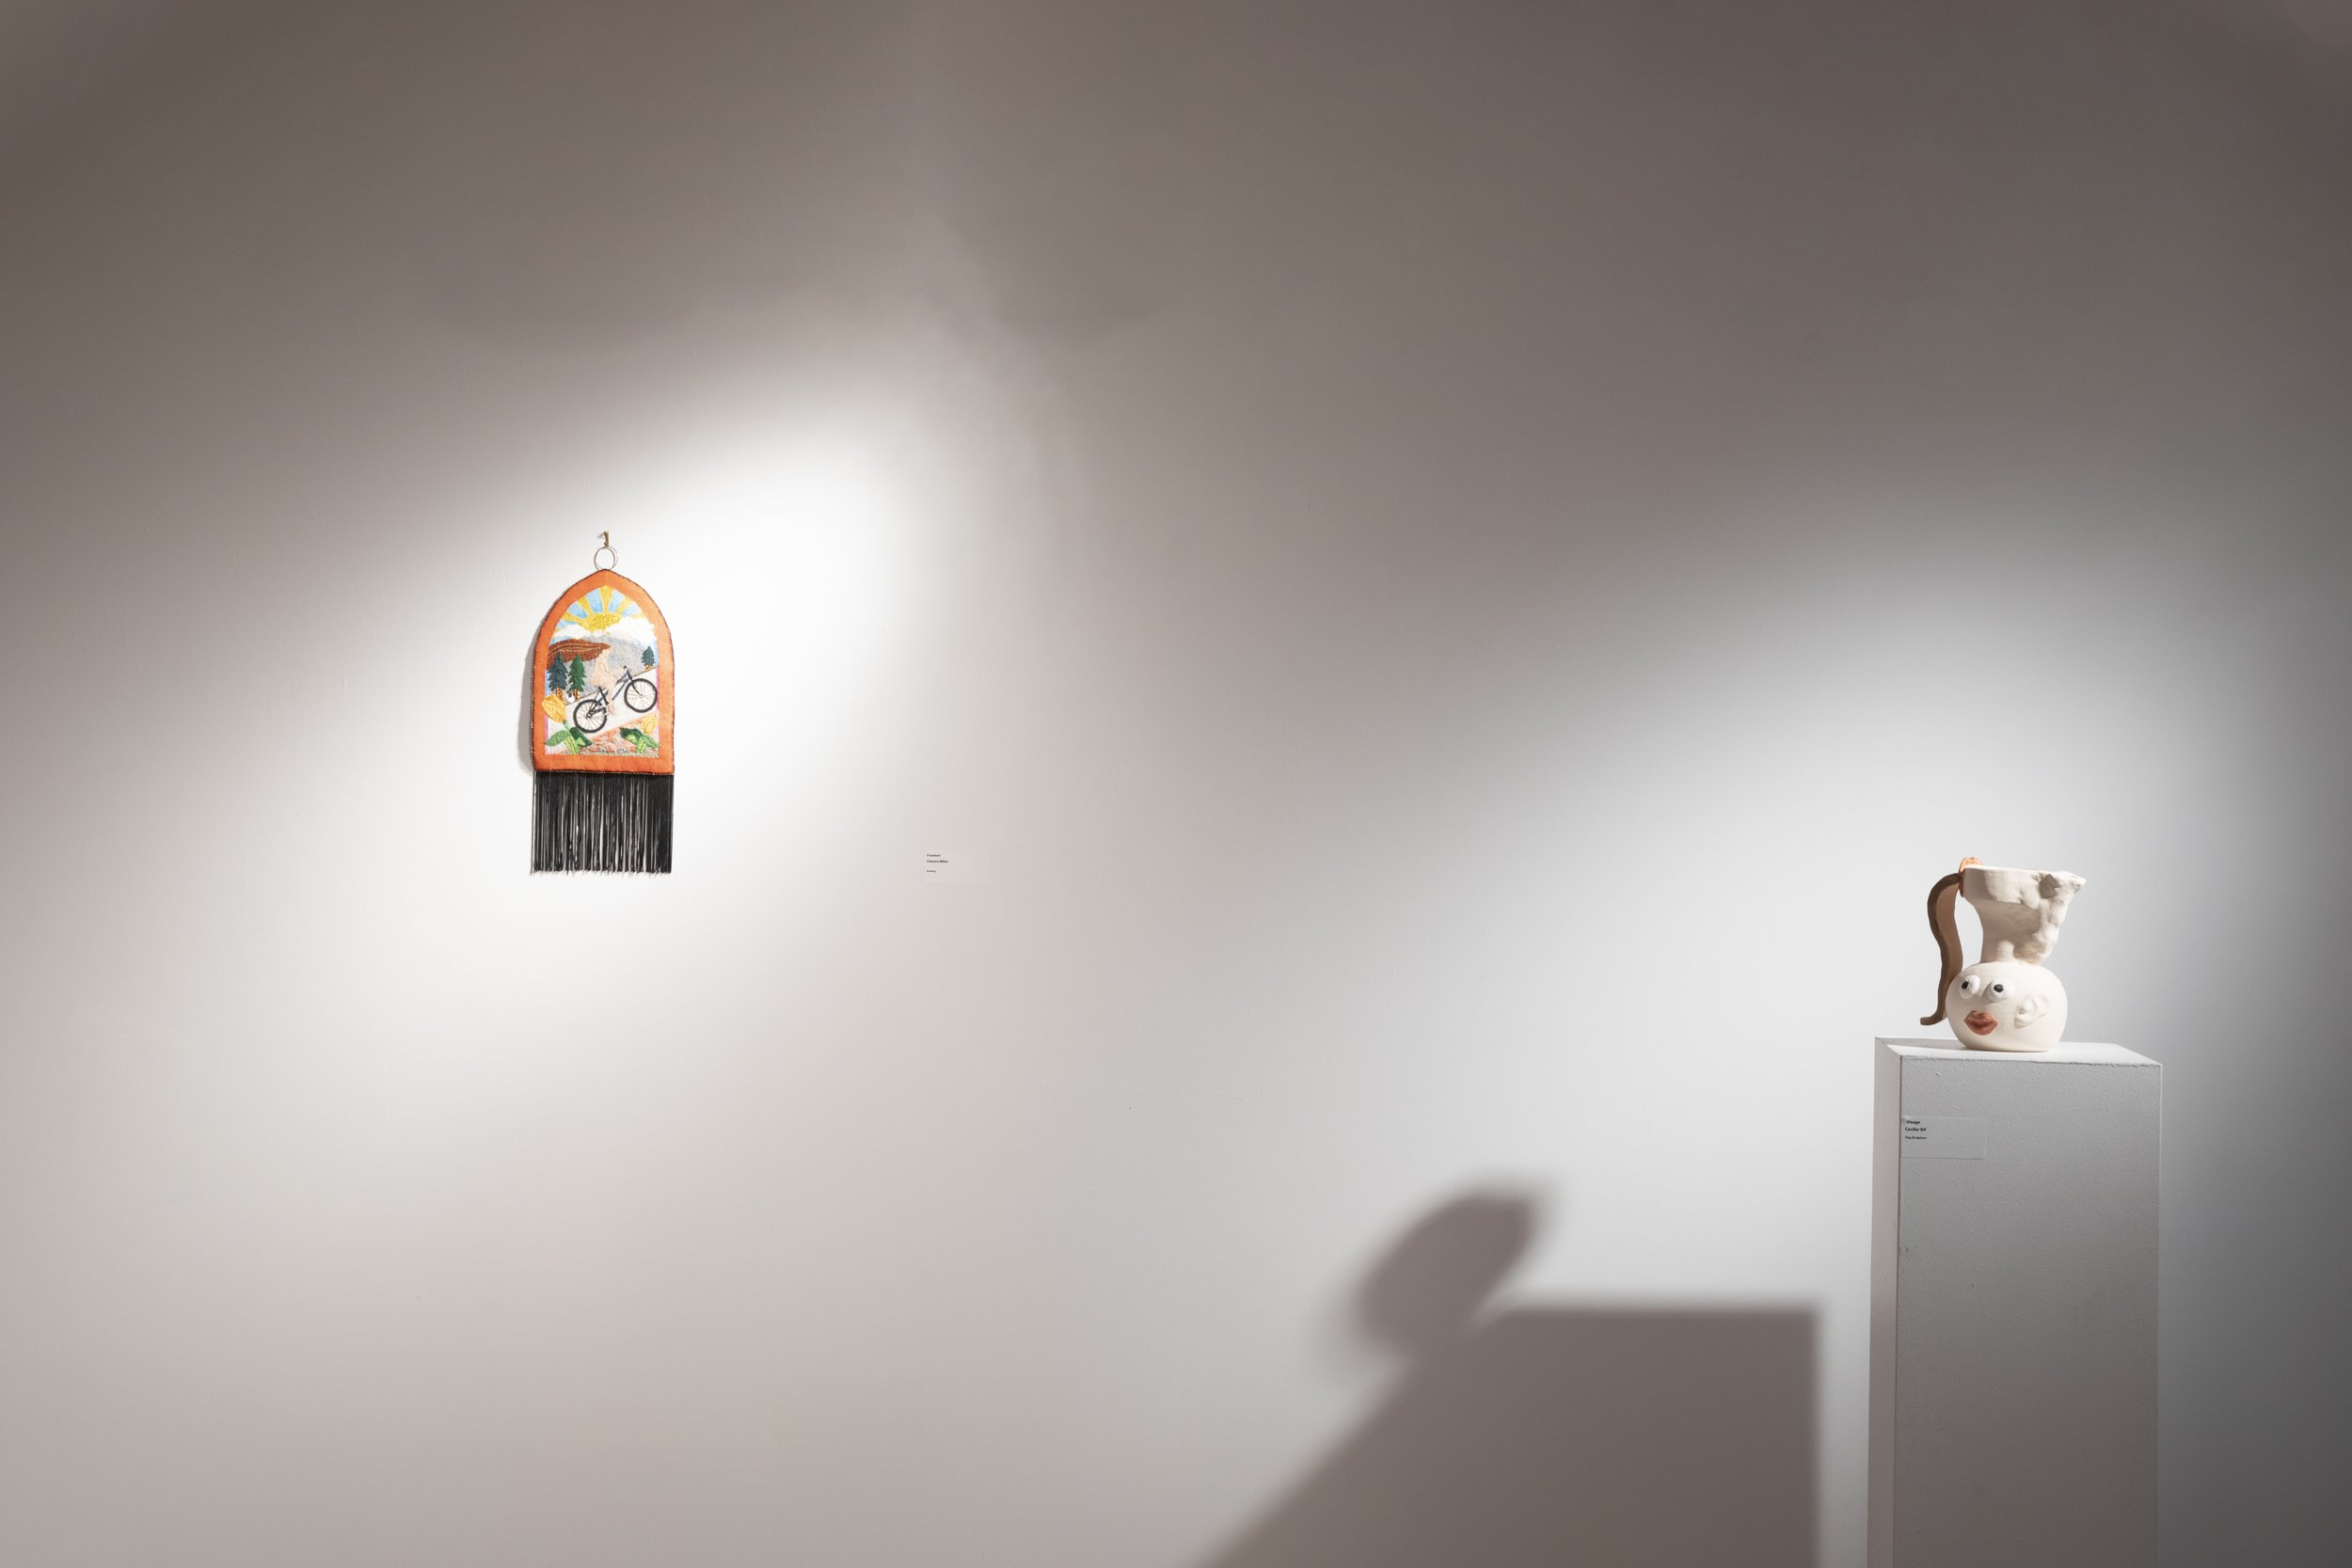
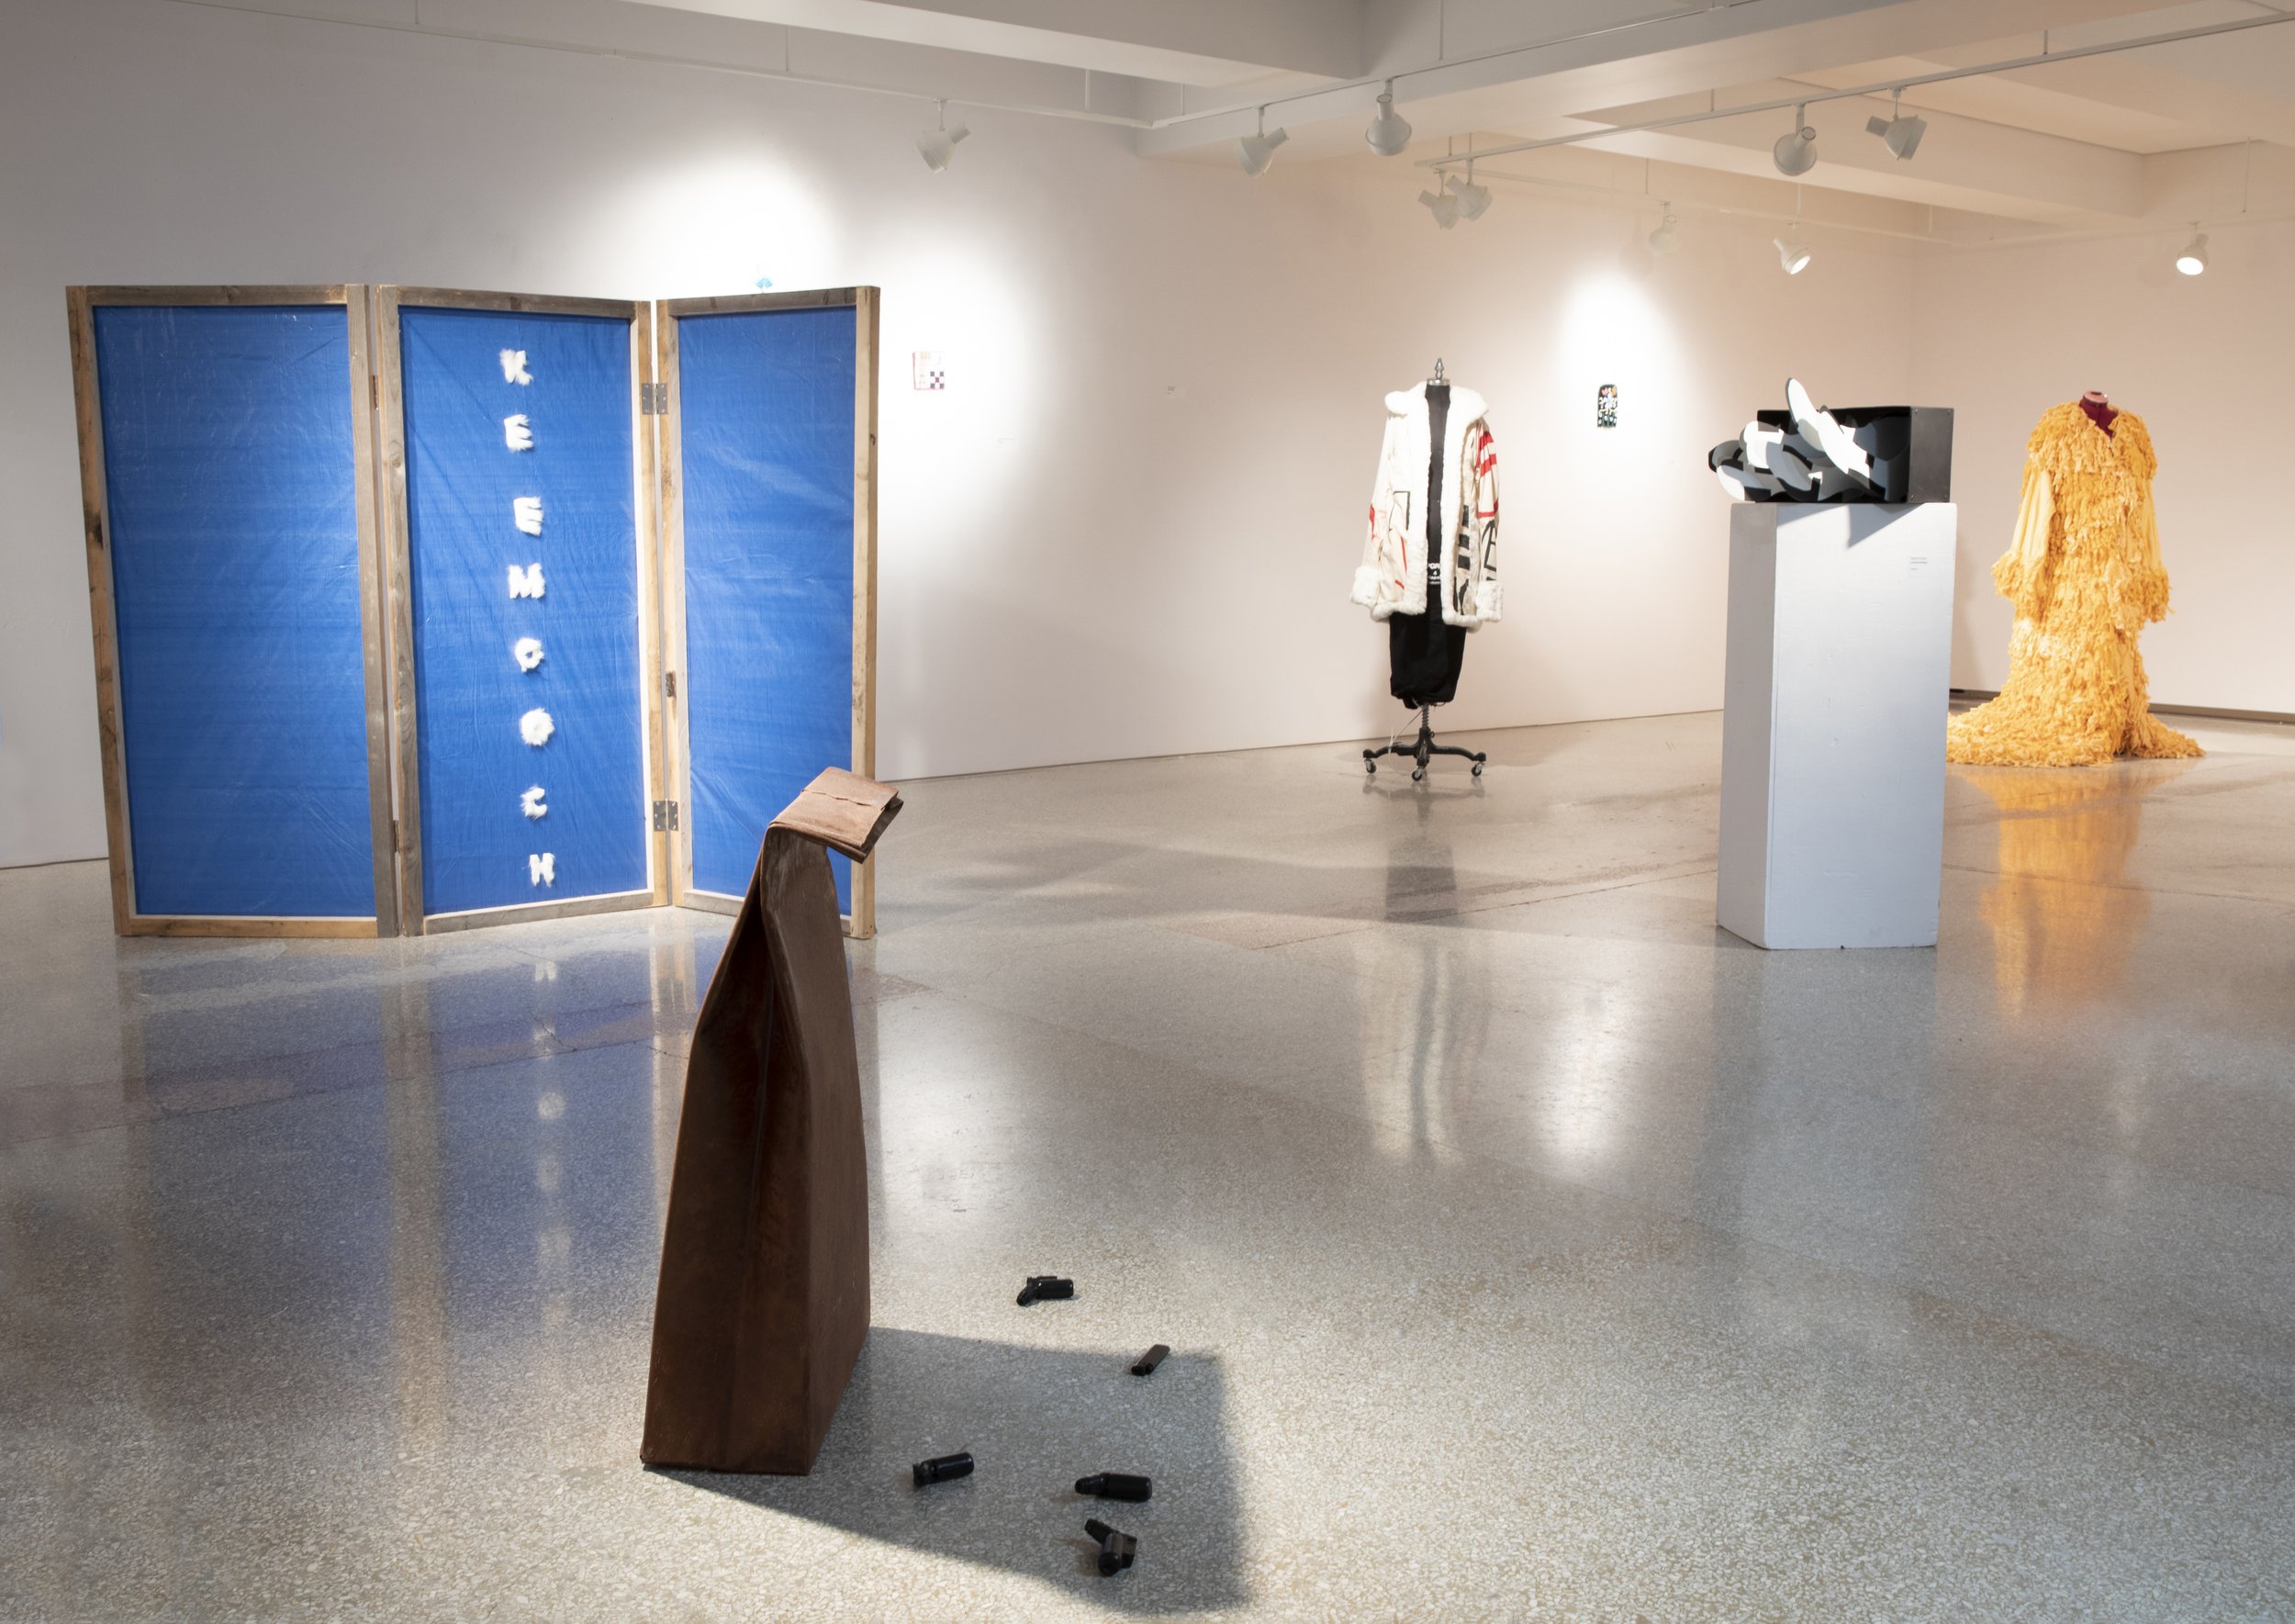
Bead By Thread / Altered Forms - Photo by Daisy Wu
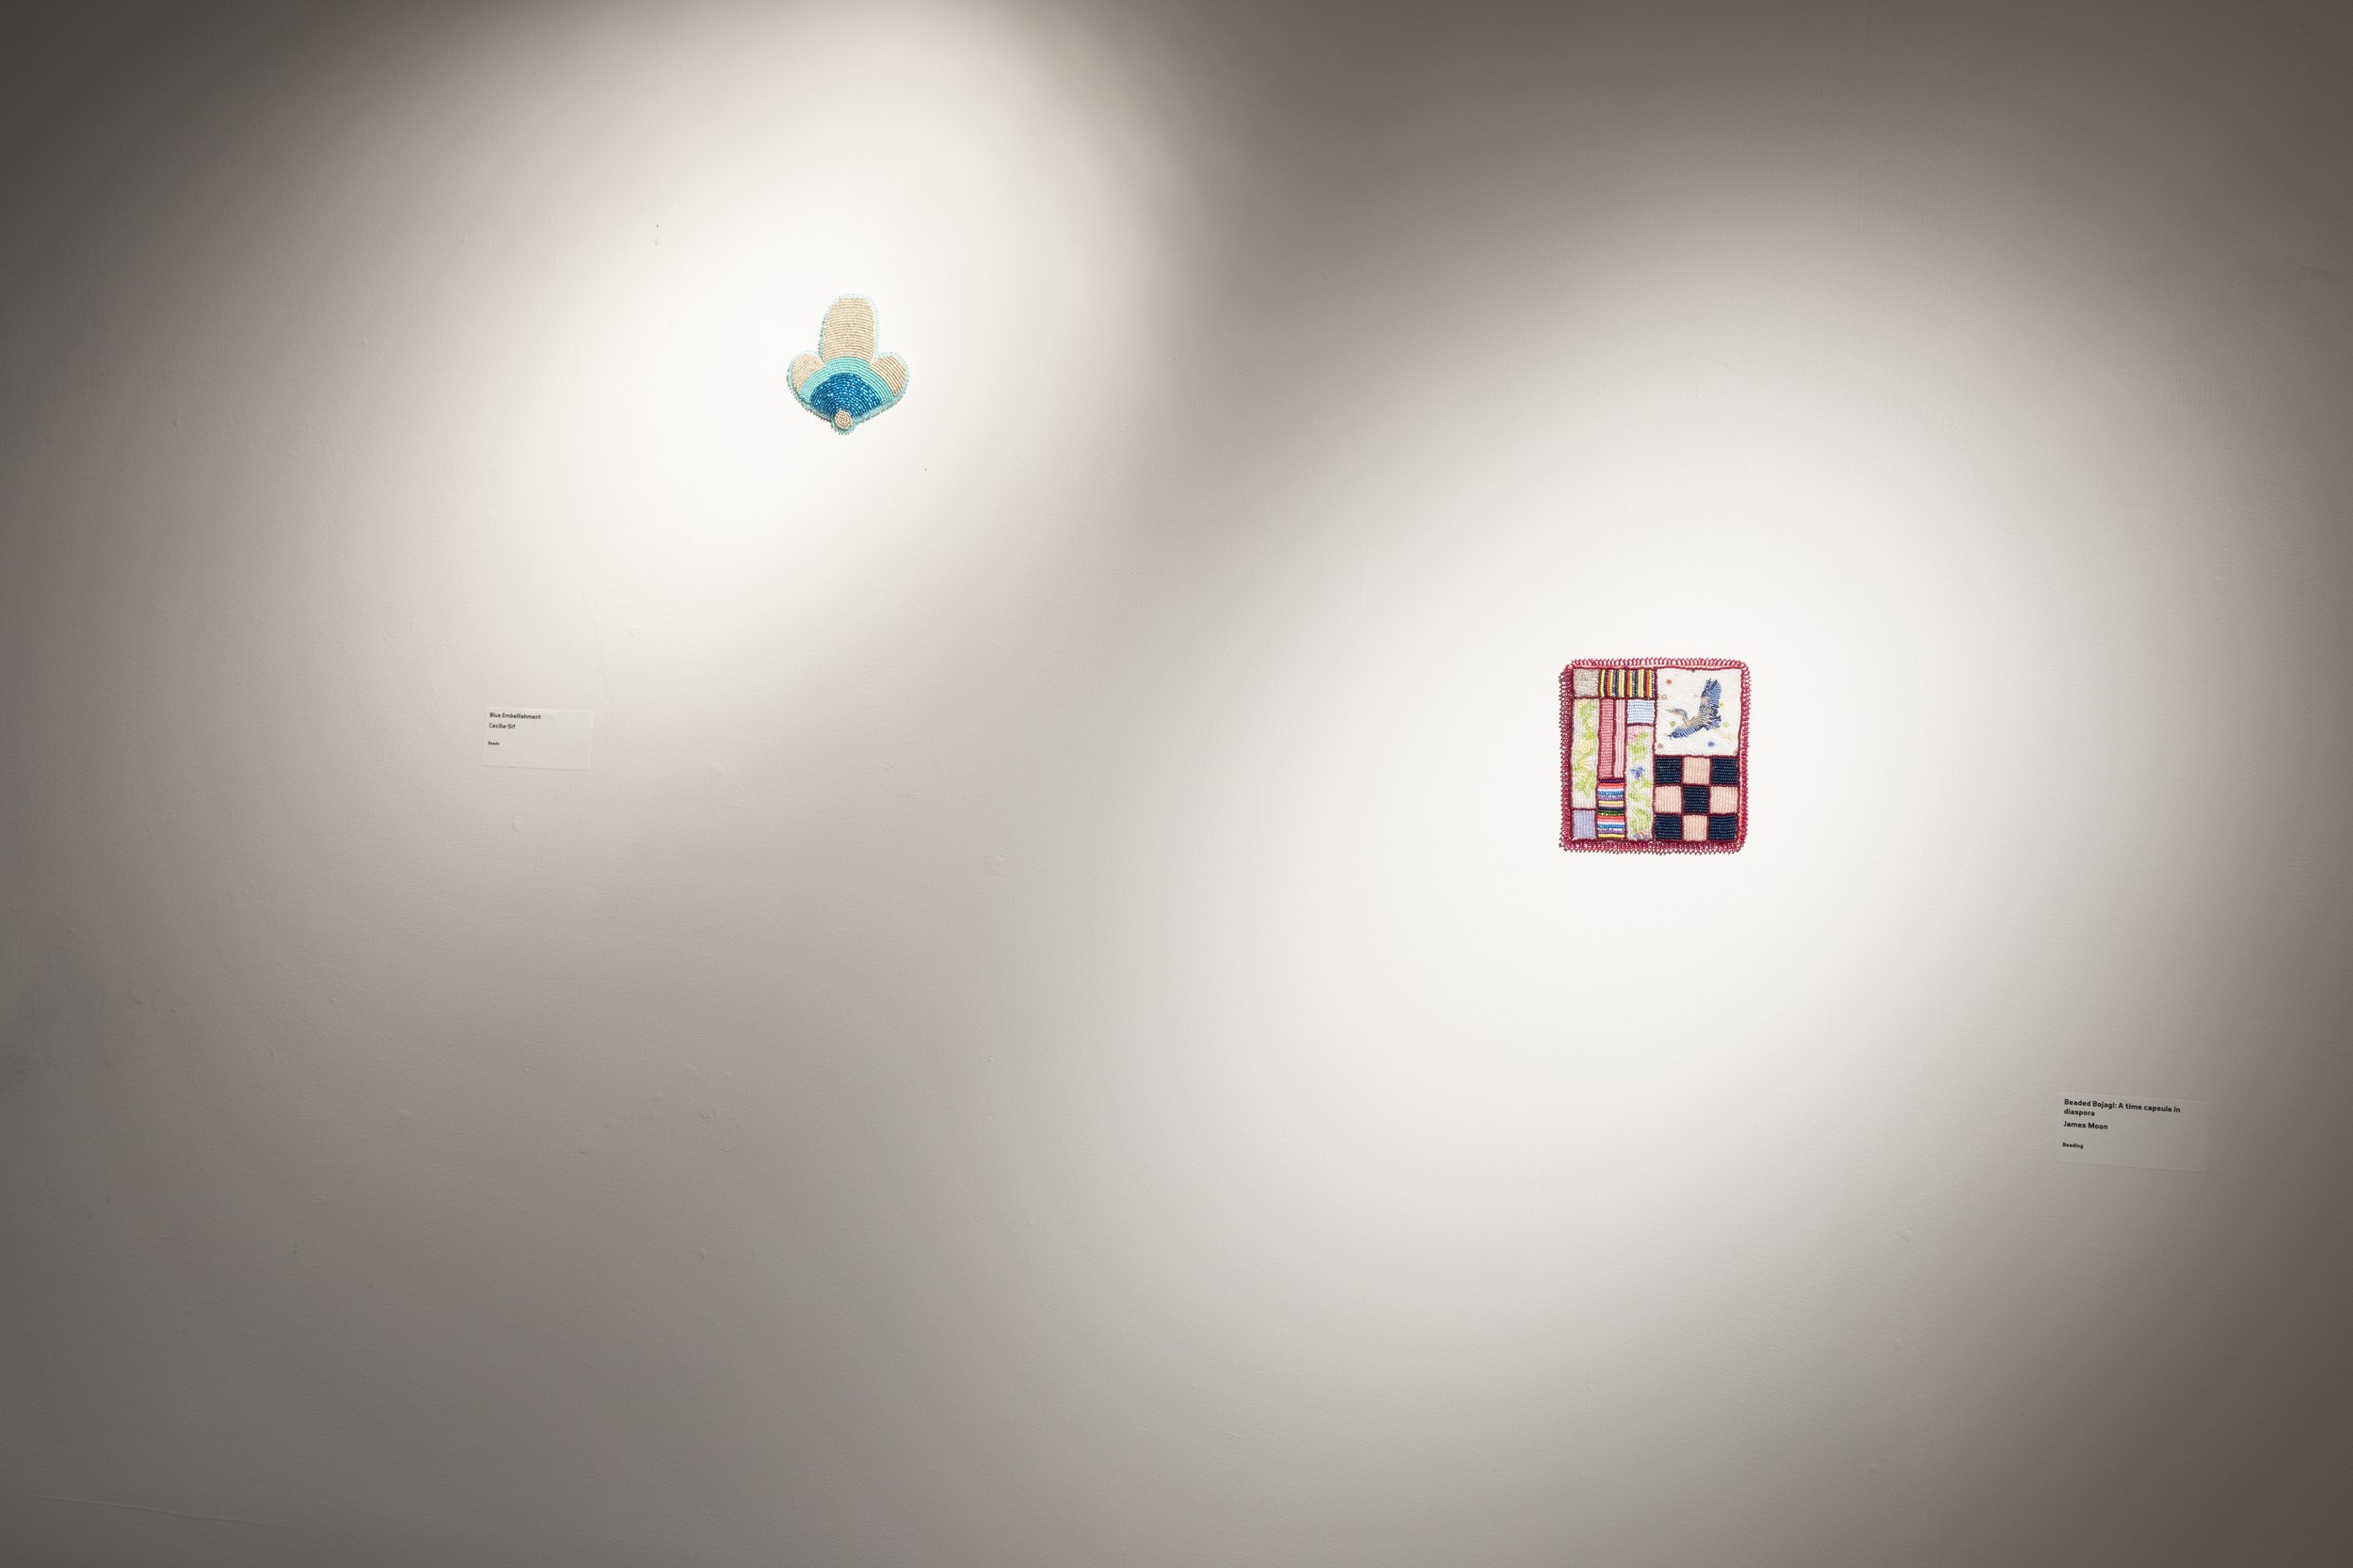
Bead By Thread / Altered Forms - Photo by Daisy Wu

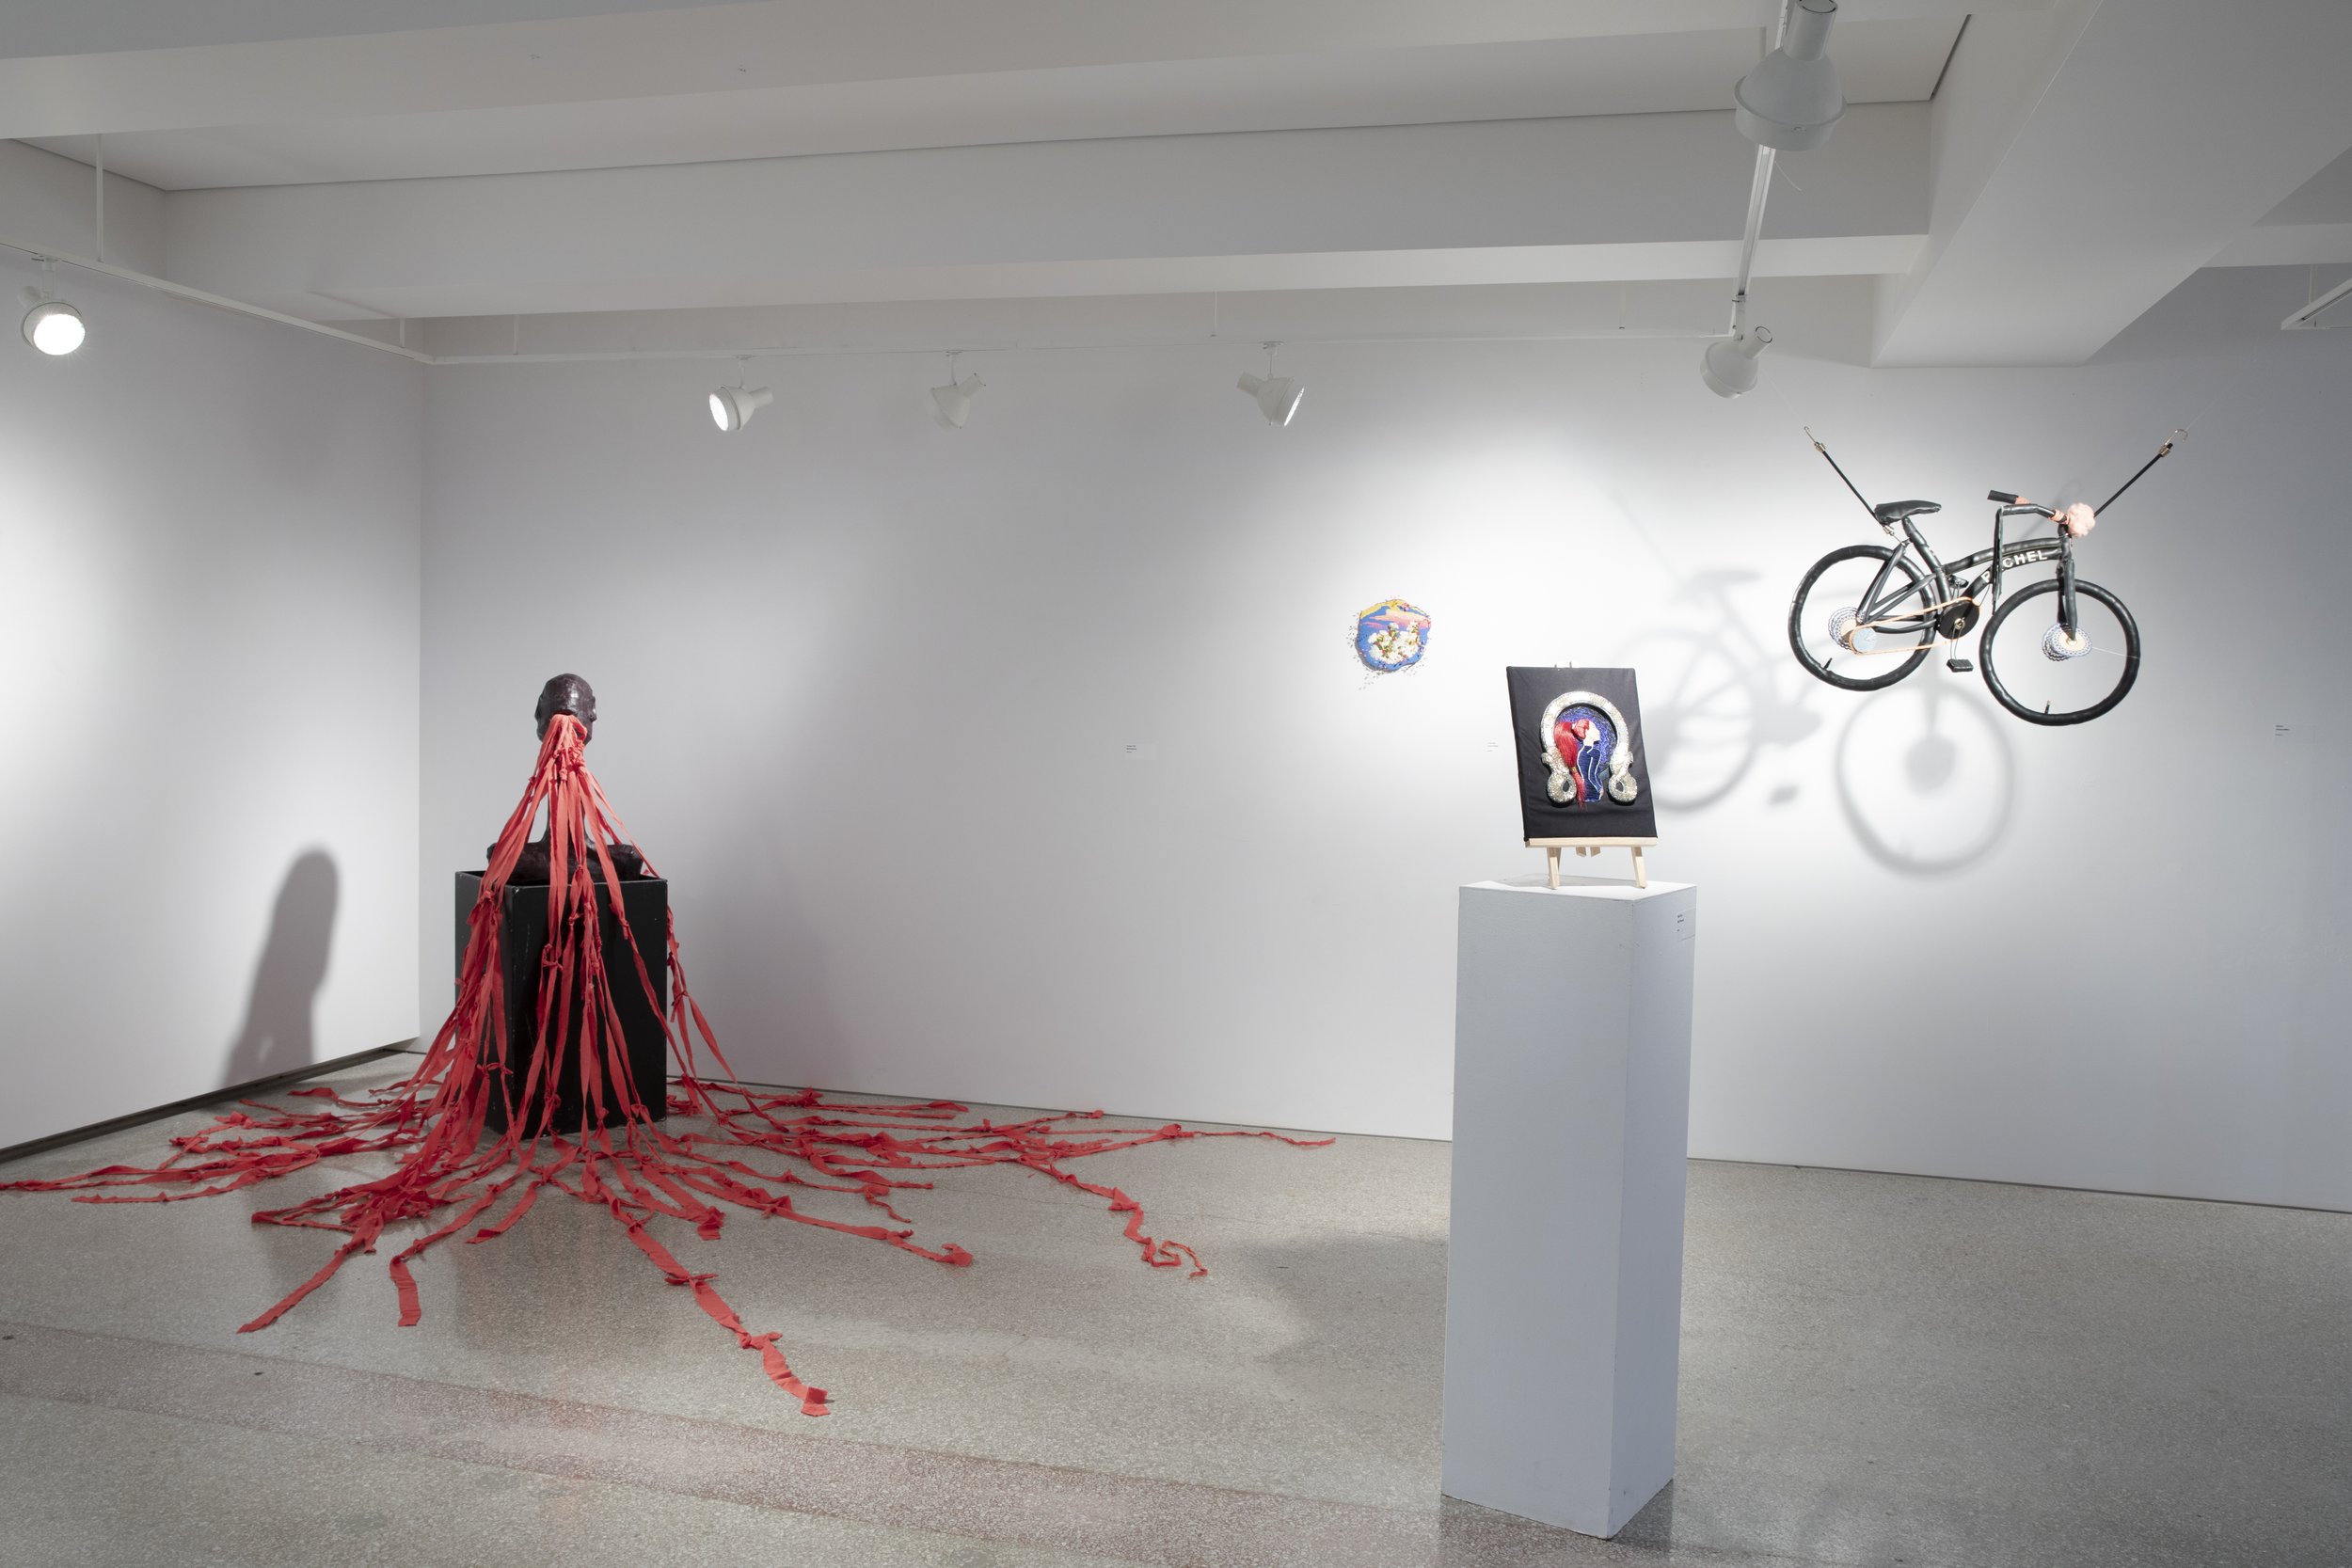
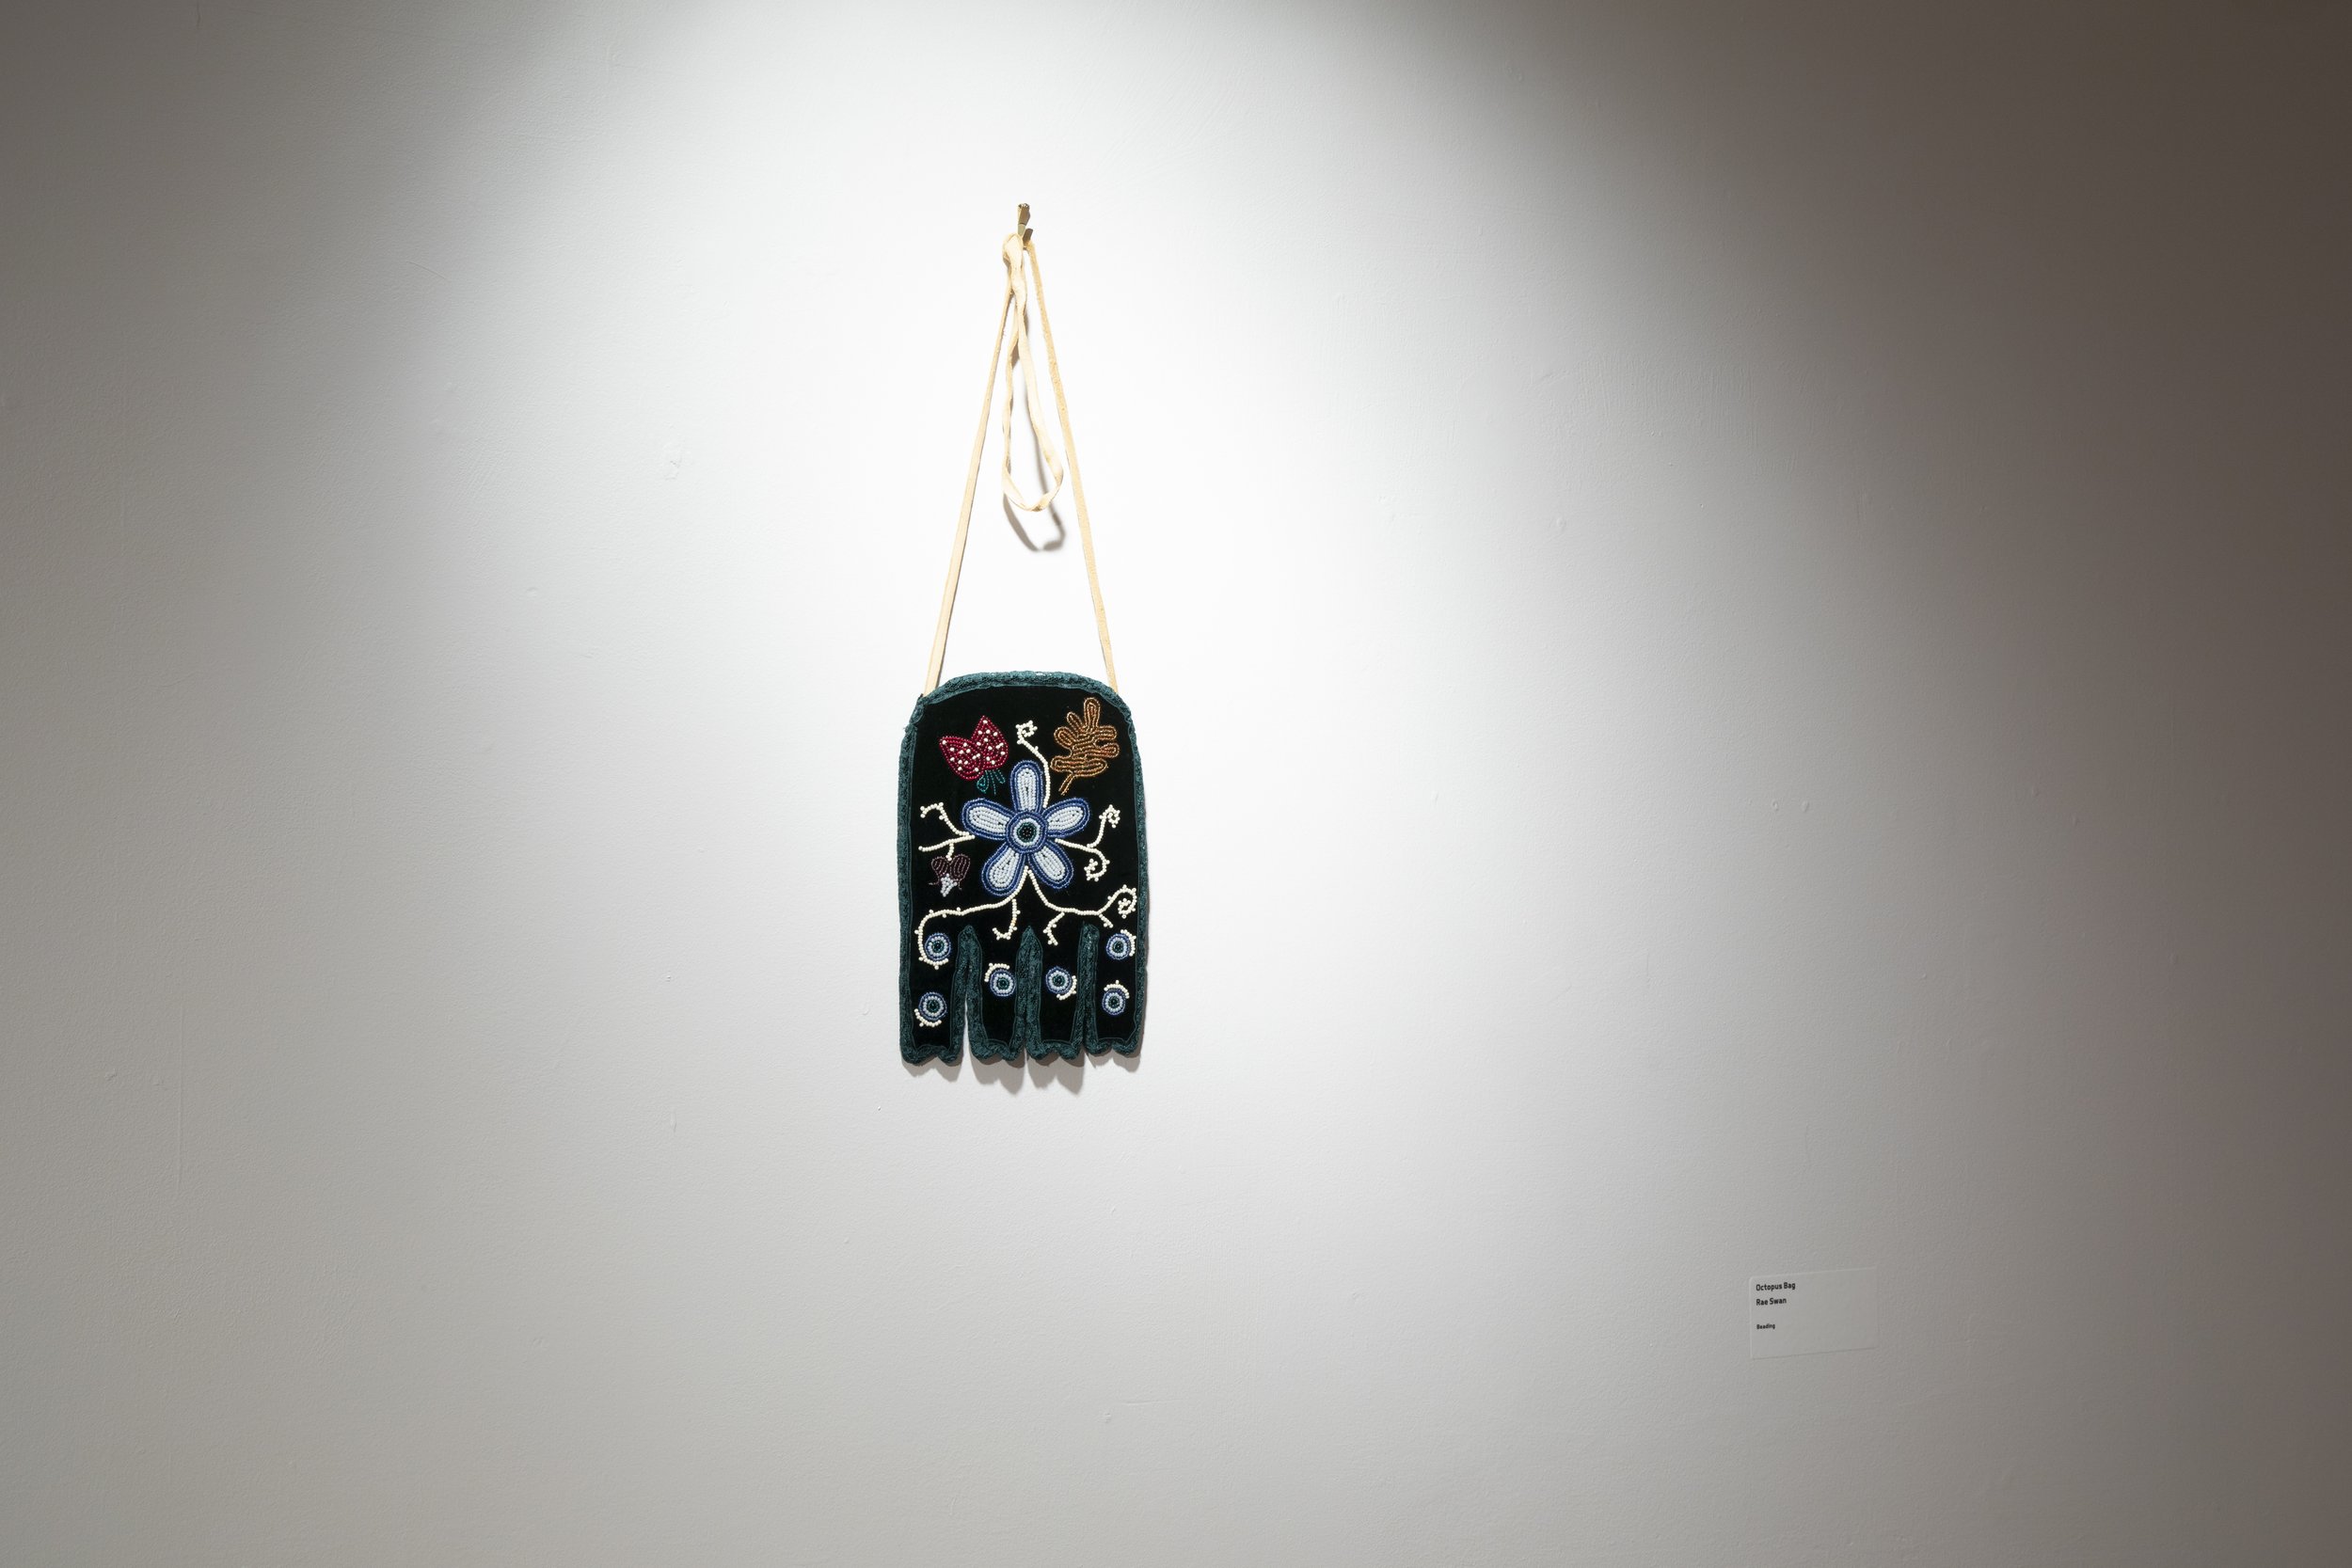
Bead By Thread / Altered Forms - Photo by Daisy Wu
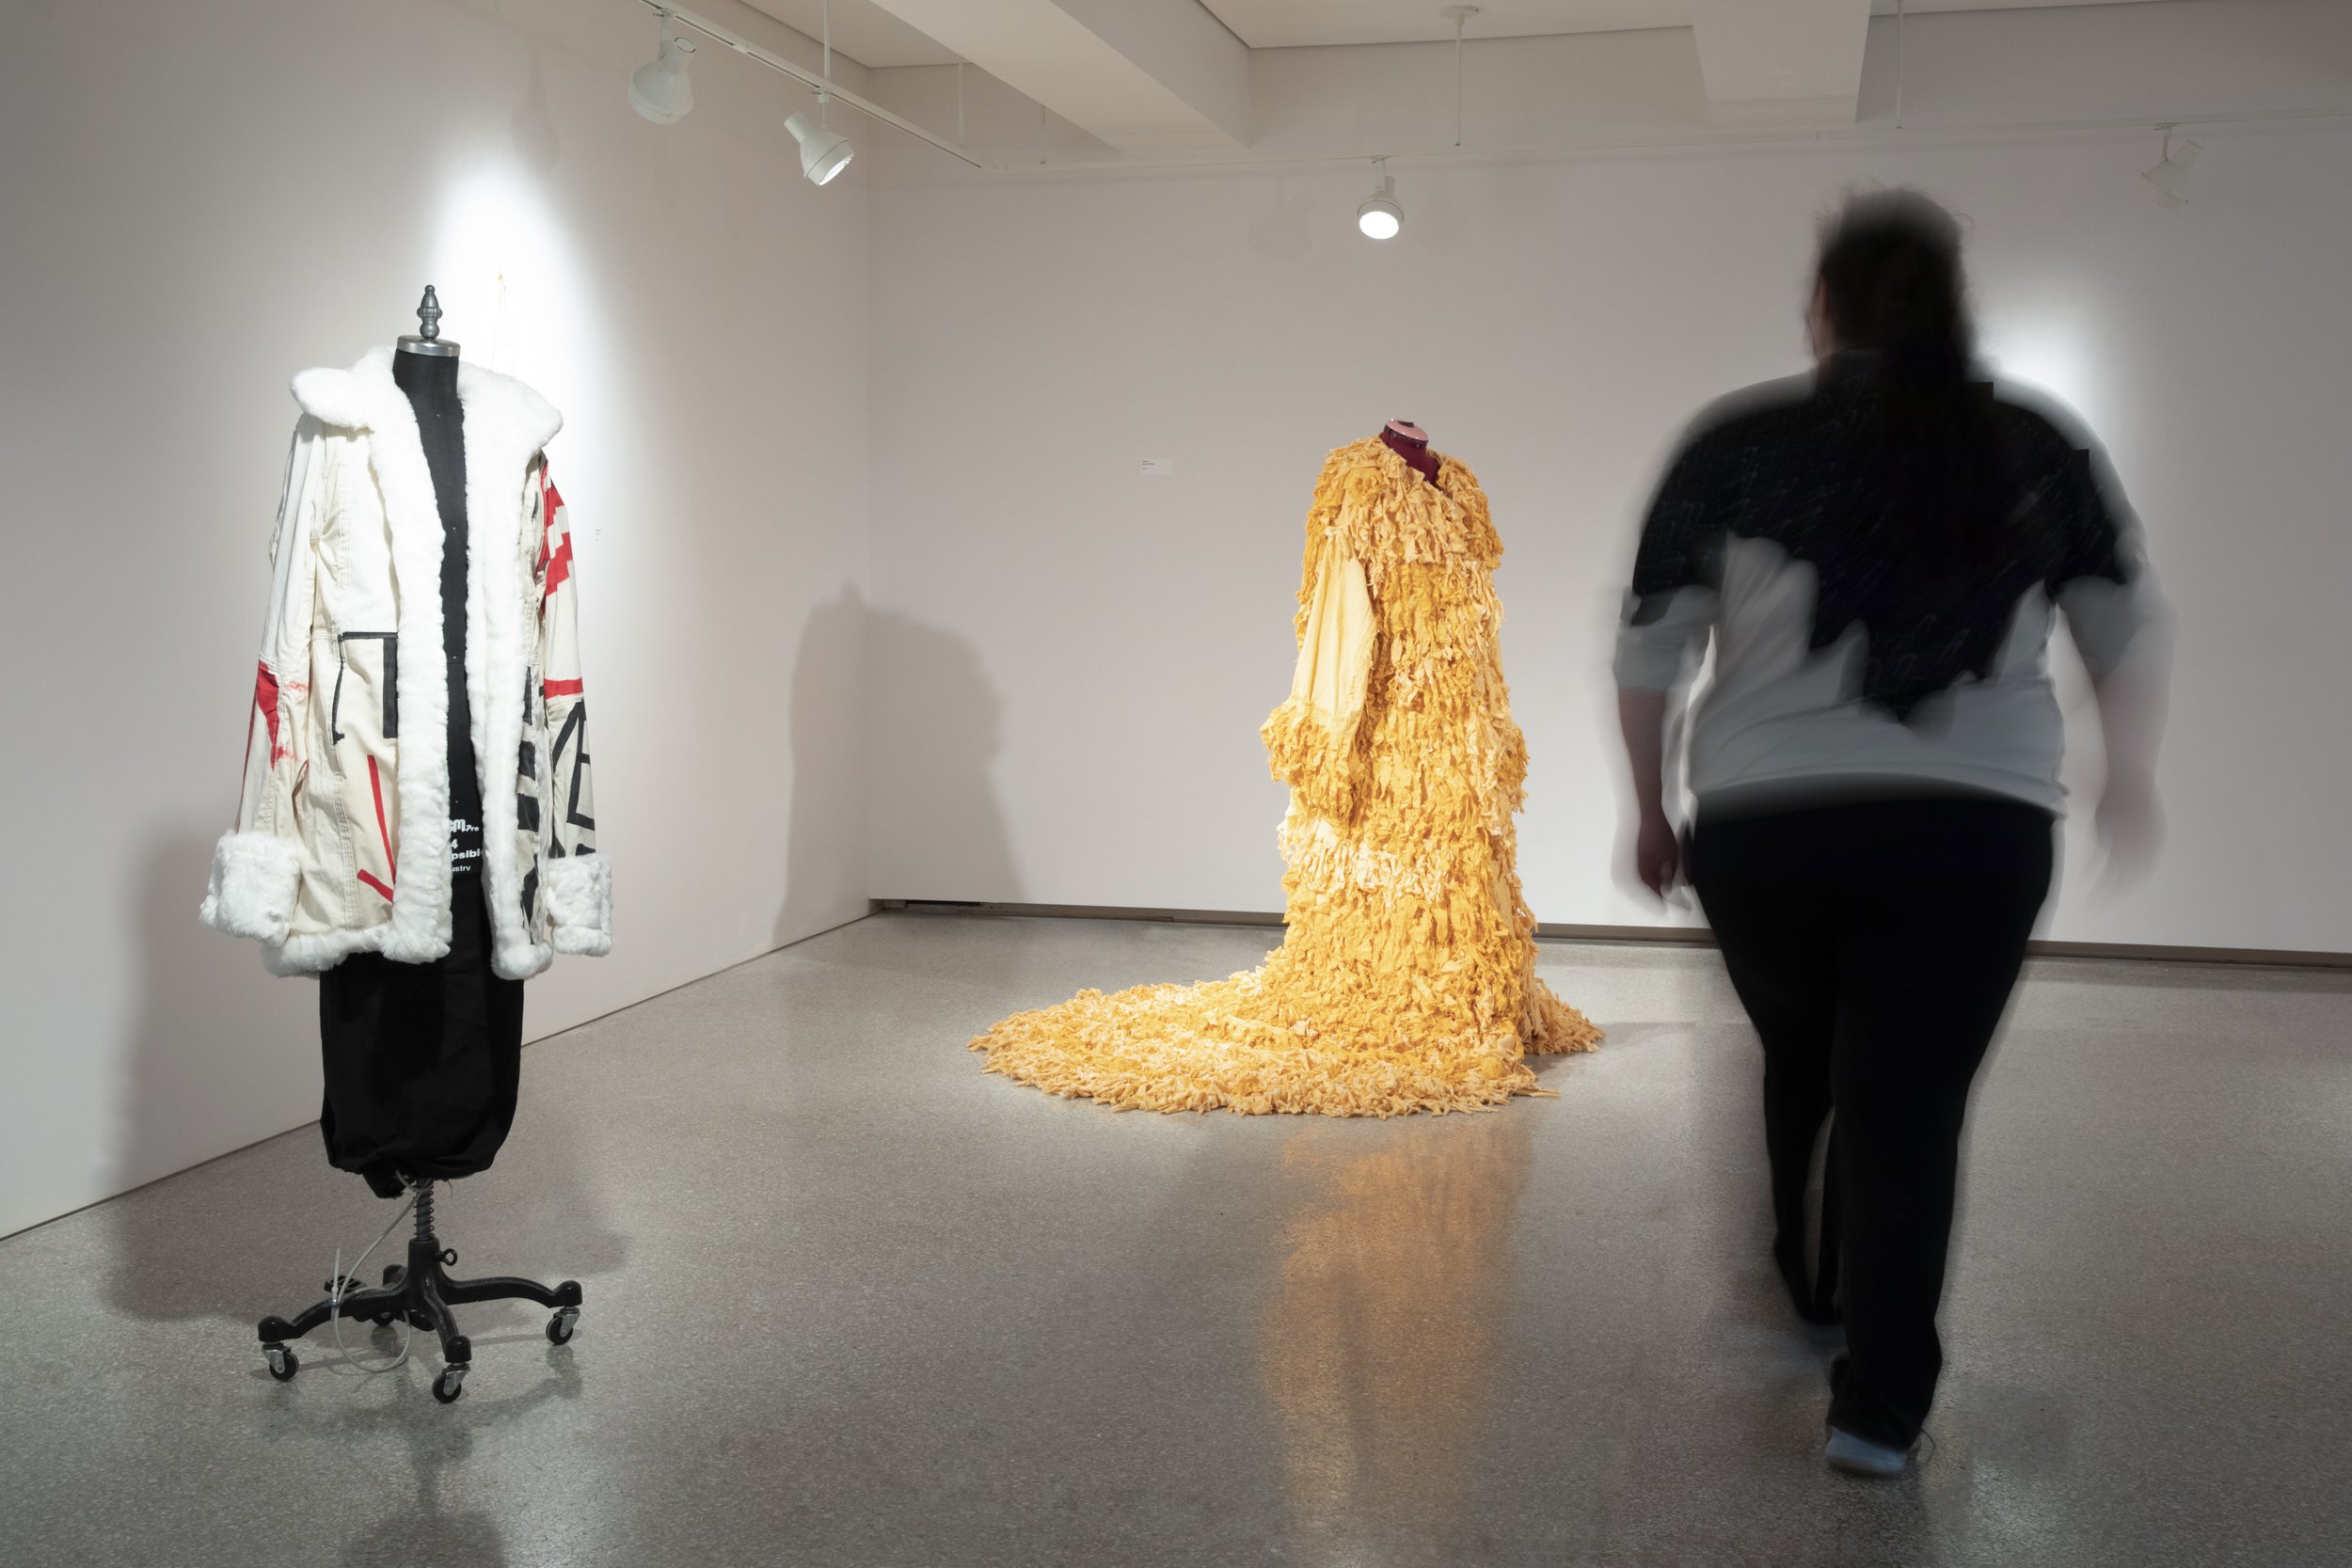
Bead By Thread / Altered Forms - Photo by Daisy Wu
Bead By Thread / Altered Forms - Photo by Daisy Wu

Bead By Thread / Altered Forms - Photo by Daisy Wu
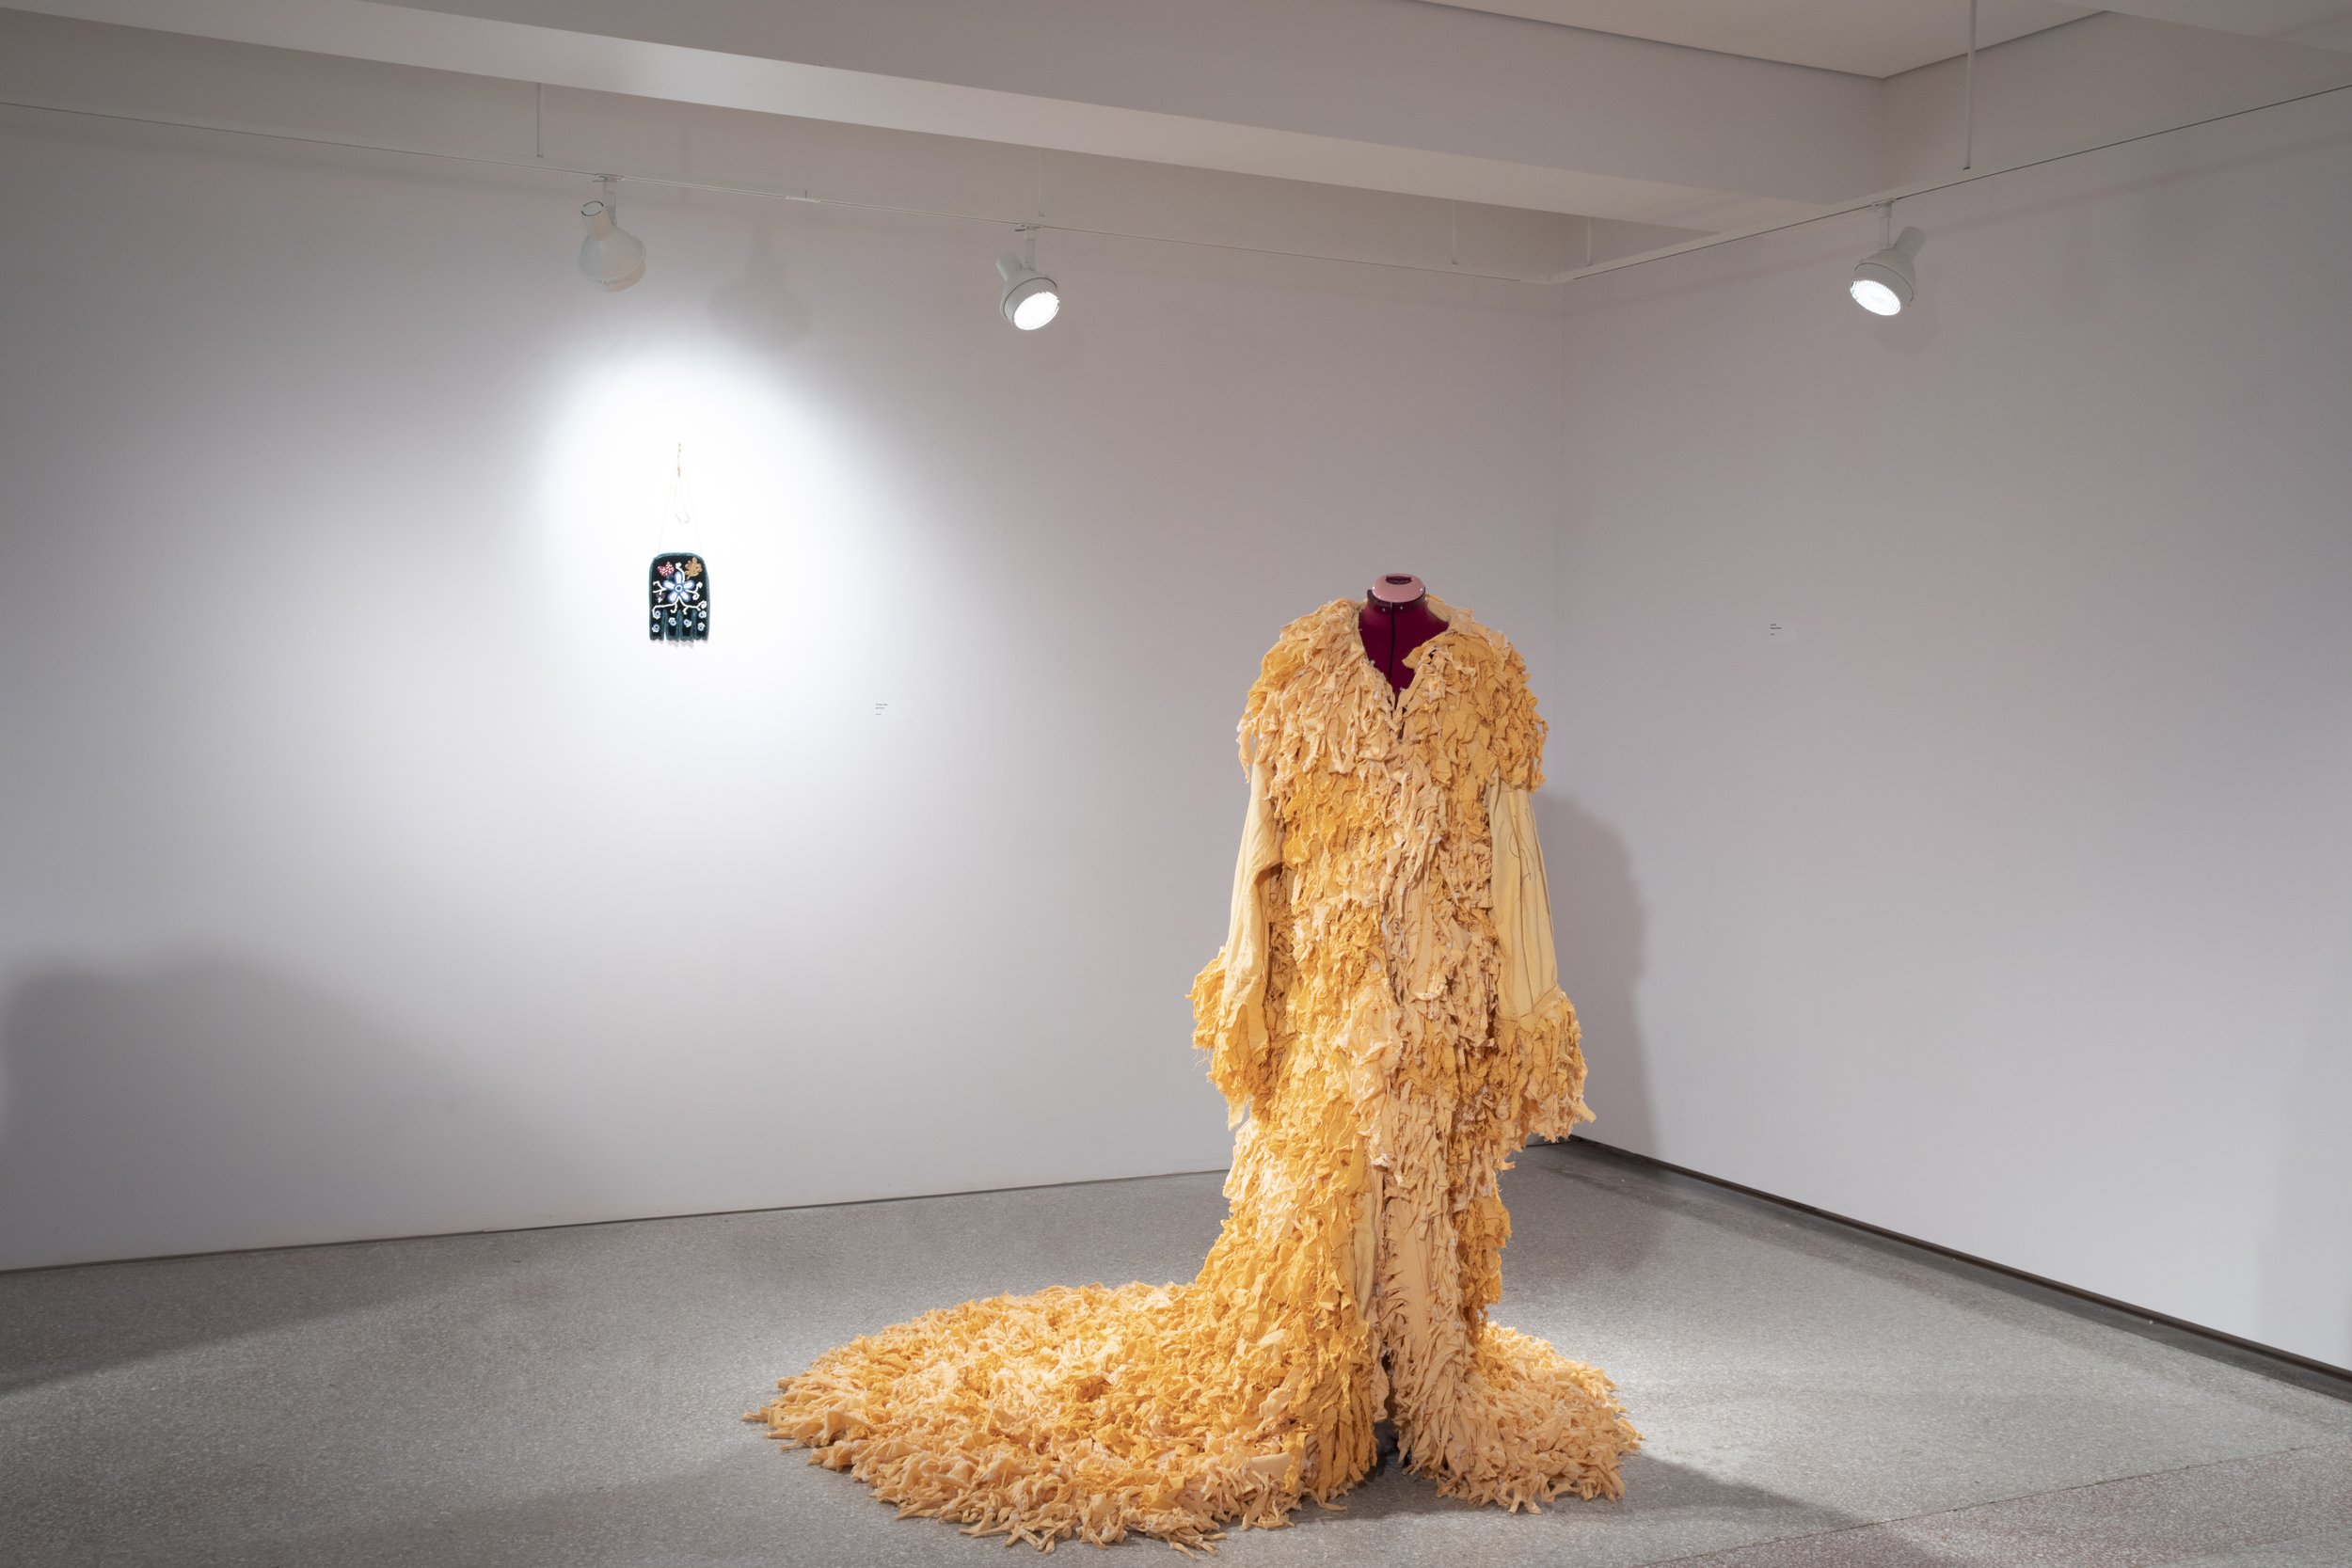
Bead By Thread / Altered Forms - Photo by Daisy Wu

Bead By Thread / Altered Forms - Photo by Daisy Wu

Bead By Thread / Altered Forms - Photo by Daisy Wu

Bead By Thread / Altered Forms - Photo by Daisy Wu

Bead By Thread / Altered Forms - Photo by Daisy Wu
Bead By Thread / Altered Forms - Photo by Daisy Wu

Bead By Thread / Altered Forms - Photo by Daisy Wu

Bead By Thread / Altered Forms - Photo by Daisy Wu
Bead By Thread / Altered Forms - Photo by Daisy Wu

Bead By Thread / Altered Forms - Photo by Daisy Wu

Bead By Thread / Altered Forms - Foldout

Bead By Thread / Altered Forms - Fold out